Moving my blog to Hydejack, Github Pages and Docker Containers

Moving to a containerised Jekyll system on Windows
- Intro
- Hello Hydejack
- Containers for local rendering
- Theme Learnings
- Cutting over Github Pages
- Reference sites
- Handy Tools
- Summary
Intro
I started a blog journey a while back running on a basic wordpress site. That was cool for a while, but I watched a few folks I respect jump across to Github pages with the likes of Jekyll etc.
Being a free option, and obviously what the cool kids were doing, I quickly jumped onboard and rebuilt my site using Github Pages, Jekyll and the Beautiful Jekyll theme by Dean Attali. This took some learning, and a lot of time in moving wordpress posts into markdown, but it was fun, it was free and it did the job. Goodbye Wordpress and your fees and advertising.
I use Windows for most of my work, and managed to get through the miraculous outcome of running Ruby locally, with the ability to serve my pages locally prior to publishing. I say it was a miracle because, frankly, it was a nightmare that I never wanted to do again.
Like that was going to happen.
Hello Hydejack
There are a few awesome sites built on the Hydejack theme which was making me nerd-jealous. So, of course, I decided to follow along with the cool kids in an attempt to modernise and gain some funky new stuff. It was a bit of an adventure and had some learnings along the way. Outlined below are a few.
You will note in this blog I am using the hydejack-pro theme. I decided to purchase it for a few reasons:
- Gridview for blogs is pretty nice
- Dark/light mode options are handy
- Forms was important
- This blog is used as my own technical dumping ground for me to refer to, so Search was important
You can use the free version just as easily, the process is the same, you will just have different theme configurations. In fact, I did the entire build outside of the contact form on the free version prior to upgrading. It’s fantastic.
Aaron Parker and Dave Brett have both done a really nice job on their sites using Hydejack (those are the cool kids I refer to).
Containers for local rendering
After my initial fun fest with Ruby on Windows, I took a brief stab at trying to render the initial Hydejack site locally. That went down like a bag of bricks in a lake. After Google hunting like a boss, I gave up and decided not to break what was currently working.
Enter Docker Containers. This was an appealing option as I figured I could simply spin up a container and render my content in a disposable fashion as needed. That was a great theory, but a few things to learn along the way.
Whilst trialling a ridiculous number of different pre-built containers such as github-pages, jekyll, even basic default ubuntu, I had challenges all over the place. I finally settled on the Ruby image for my container, because, well, it was for Ruby, and it worked first go. Being a simple human, that was enough for me.
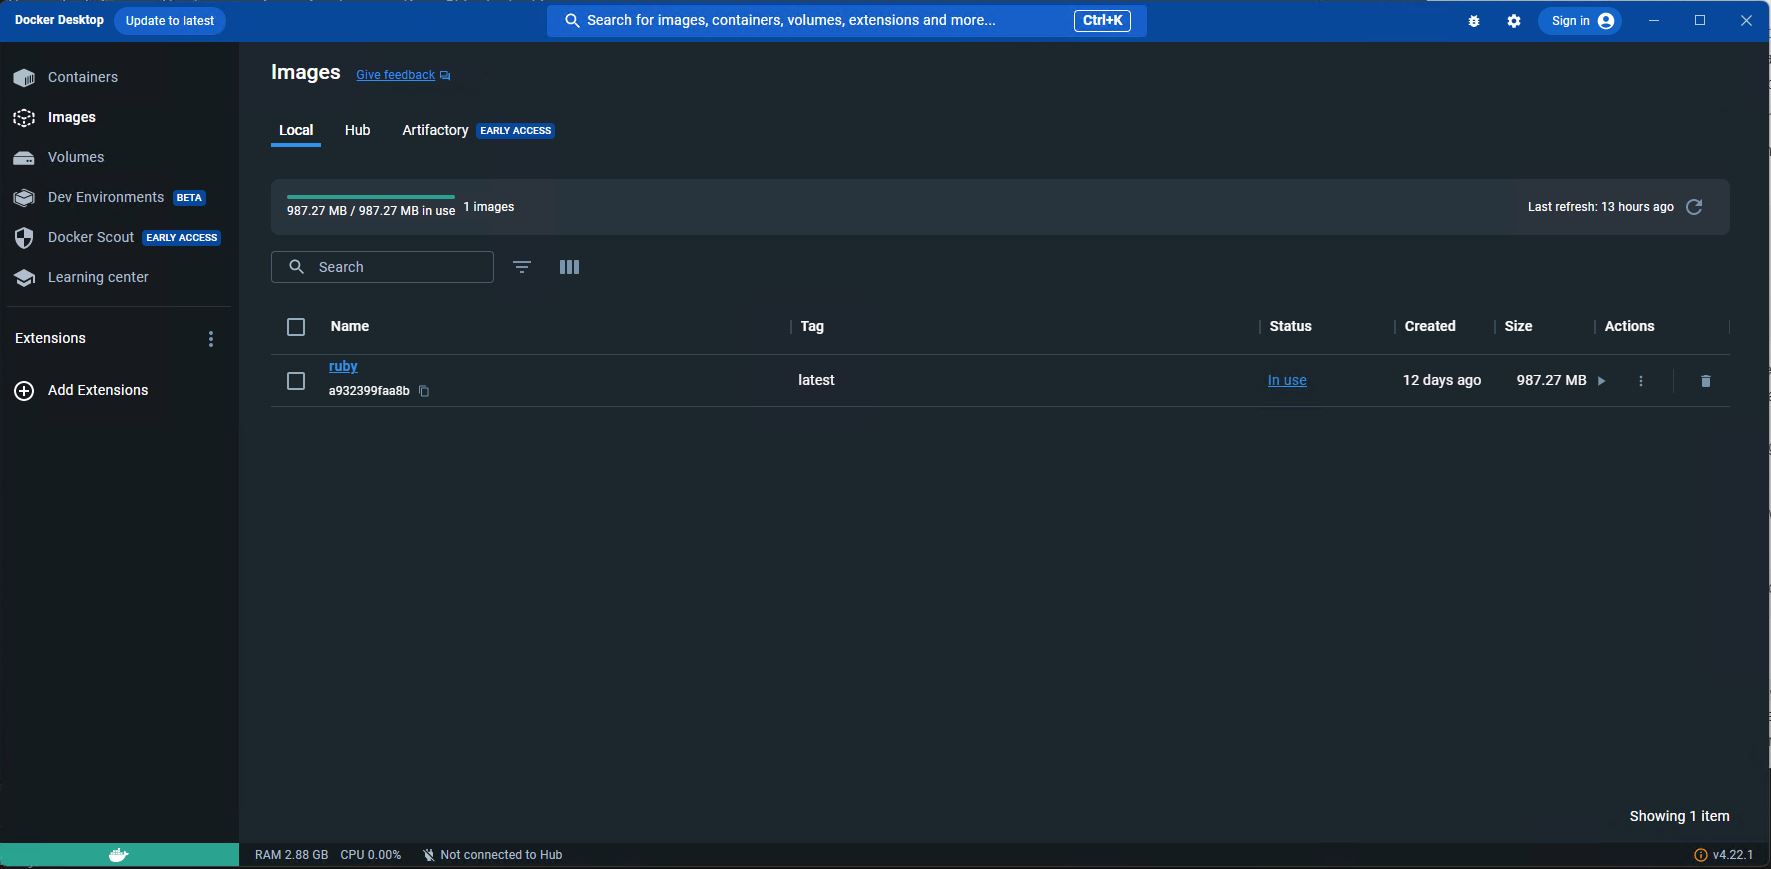
Ruby Container Image
Ultimately, I built a very basic docker container to allow me to rebuild as required. Dockerfile below:
FROM ruby:latest
RUN gem install bundler
RUN gem update --system
RUN gem update
RUN ln -sf /bin/bash /bin/sh
RUN sh
After deciding on a container, I needed to get my content into that container so that I could render (serve) it. I wanted to be able to edit using my Visual Studio Code editor as per normal on my Windows machine, but render that content via the Container. This also had a couple of challenges, maybe self-imposed, maybe not.
I choose to mount the local copy of my files when I ran the container. This looks like this:
docker run --name prod_blog --mount src=C:\Temp\Site\hydejack-pro-9.1.6\starter-kit-gh-pages\,target=/website,type=bind -p 4000:4000 -it ruby sh
This ultimately means that:
- We are mounting the
c:\temp\site\hydejack-pro-9.1.6\start-kit-gh-pages\windows directory to the/websitefolder within the Container. - We are port forwarding from port
4000from the local host running Docker to the container on port4000. - We are using the Container named
rubyand naming itprod_blog. - We are making the session interactive and executing the
shcommand so we can do stuff.
I am by no means of any use with Container logic. There may well be smarter ways to handle the mount methodology.
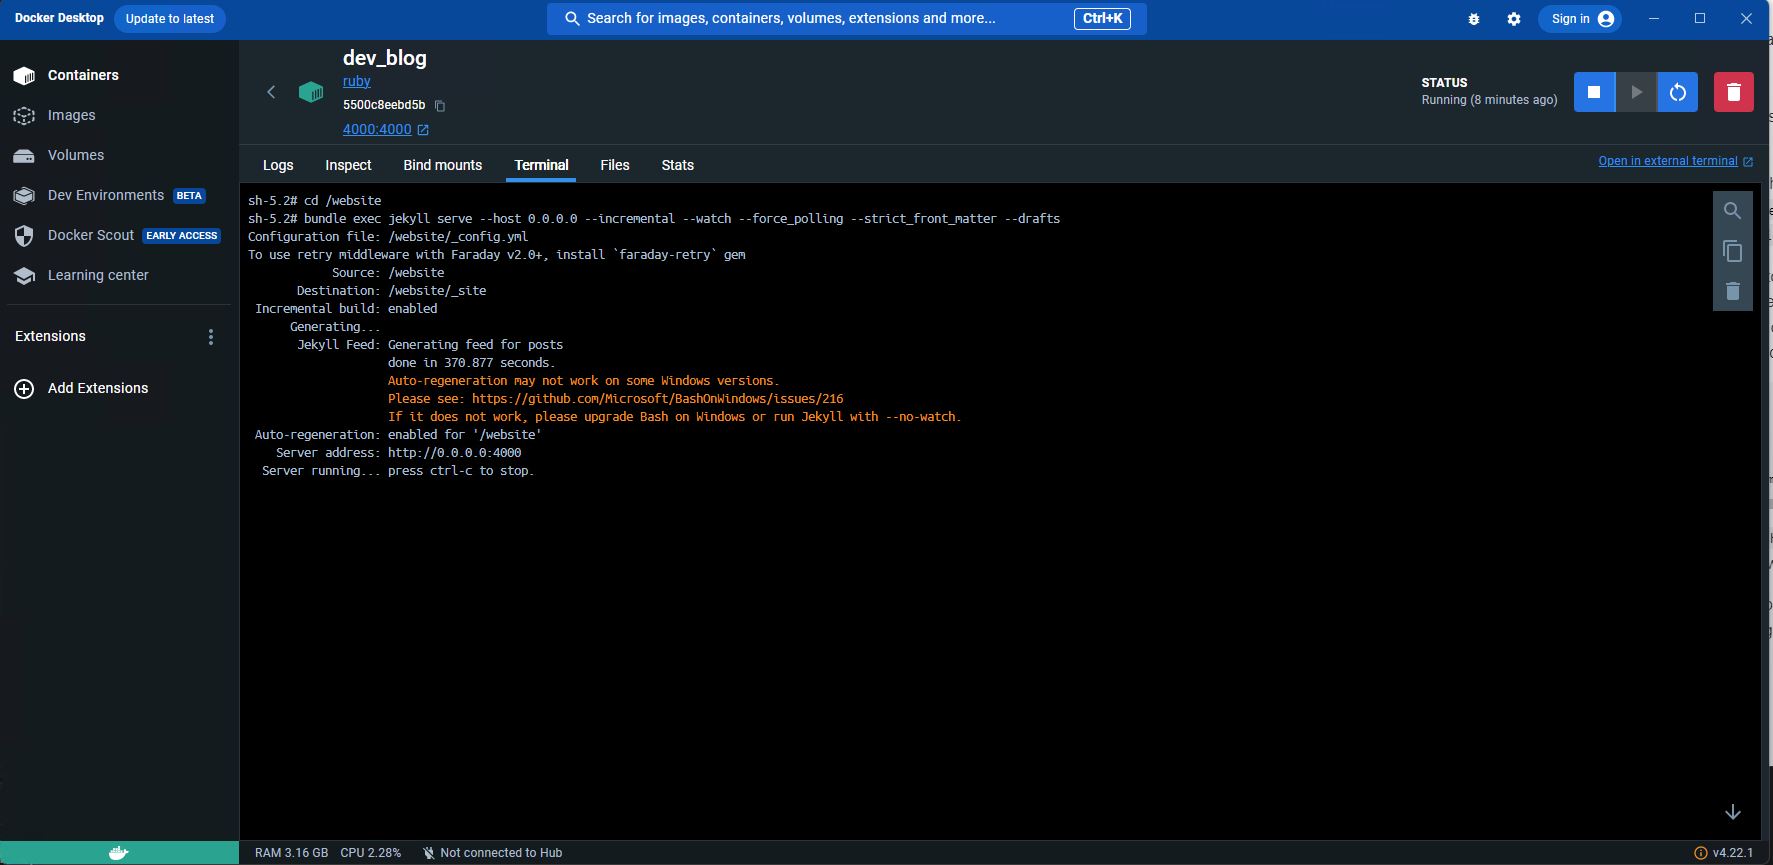
From here, once starting to serve the content within the container (read on), we should, in a web browser on the local Windows machine, access https://127.0.0.1:4000 which will port forward into the Container down to Jekyll, which will also be listening on port 4000.
And herein lies the rub. I have always run my jekyll serving as below on Windows:
bundle exec jekyll serve --drafts
This has been great, and it binds the the Jekyll serving to to the 127.0.0.1:4000 address locally. Happy times. In a container however, this will not work. You have to bind the Jekyll serving to 0.0.0.0:4000 within the Container as follows:
bundle exec jekyll serve --host 0.0.0.0 --incremental --watch --force_polling --strict_front_matter --drafts
There are a couple of switches there of note
- The
--host 0.0.0.0command will force Jekyll to bind to the local0.0.0.0address which then allows port-forwarding (thanks google). - The
--incrementalswitch is used to pick up changes as you make them, and force rendering of that changed content. The--force_pollingswitch was needed as funny enough, when running a Linux Docker Container on Windows and using amountto local content, change detection doesn’t work. - The
--watchcommand was used as part of my testing on the above, I left it there as it wasn’t doing any damage. - I like the
--strict_front_matterswitch as I had so much to rework from my old posts that I was making mistakes all over the place. This helped me understand what I broke. - Using
--draftsallows you to serve draft posts located in the_draftsfolder.
So when I start my container now, I simply change directory across to /website and then run my serve command bundle exec jekyll serve --host 0.0.0.0 --incremental --watch --force_polling --strict_front_matter --drafts
Running Blog Locally
If I was to rebuild that container (I’ve chosen to make it persistent for now), then the following is used to update all the required gems and bring everything to life. There is likely composition that you can do etc if you are a real Docker person, but I am not and this serves my need.
cd /website
bundle install
ln -sf /bin/bash /bin/sh
sh
bundle exec jekyll serve --host 0.0.0.0 --incremental --watch --force_polling --strict_front_matter --drafts
The reason for the ln -sf /bin/bash /bin/sh command, was to allow me to use the up/down keys for command history within the container itself.
The nice thing here also, is that for testing, breaking and trialling, I could easily have multiple containers with different configs.
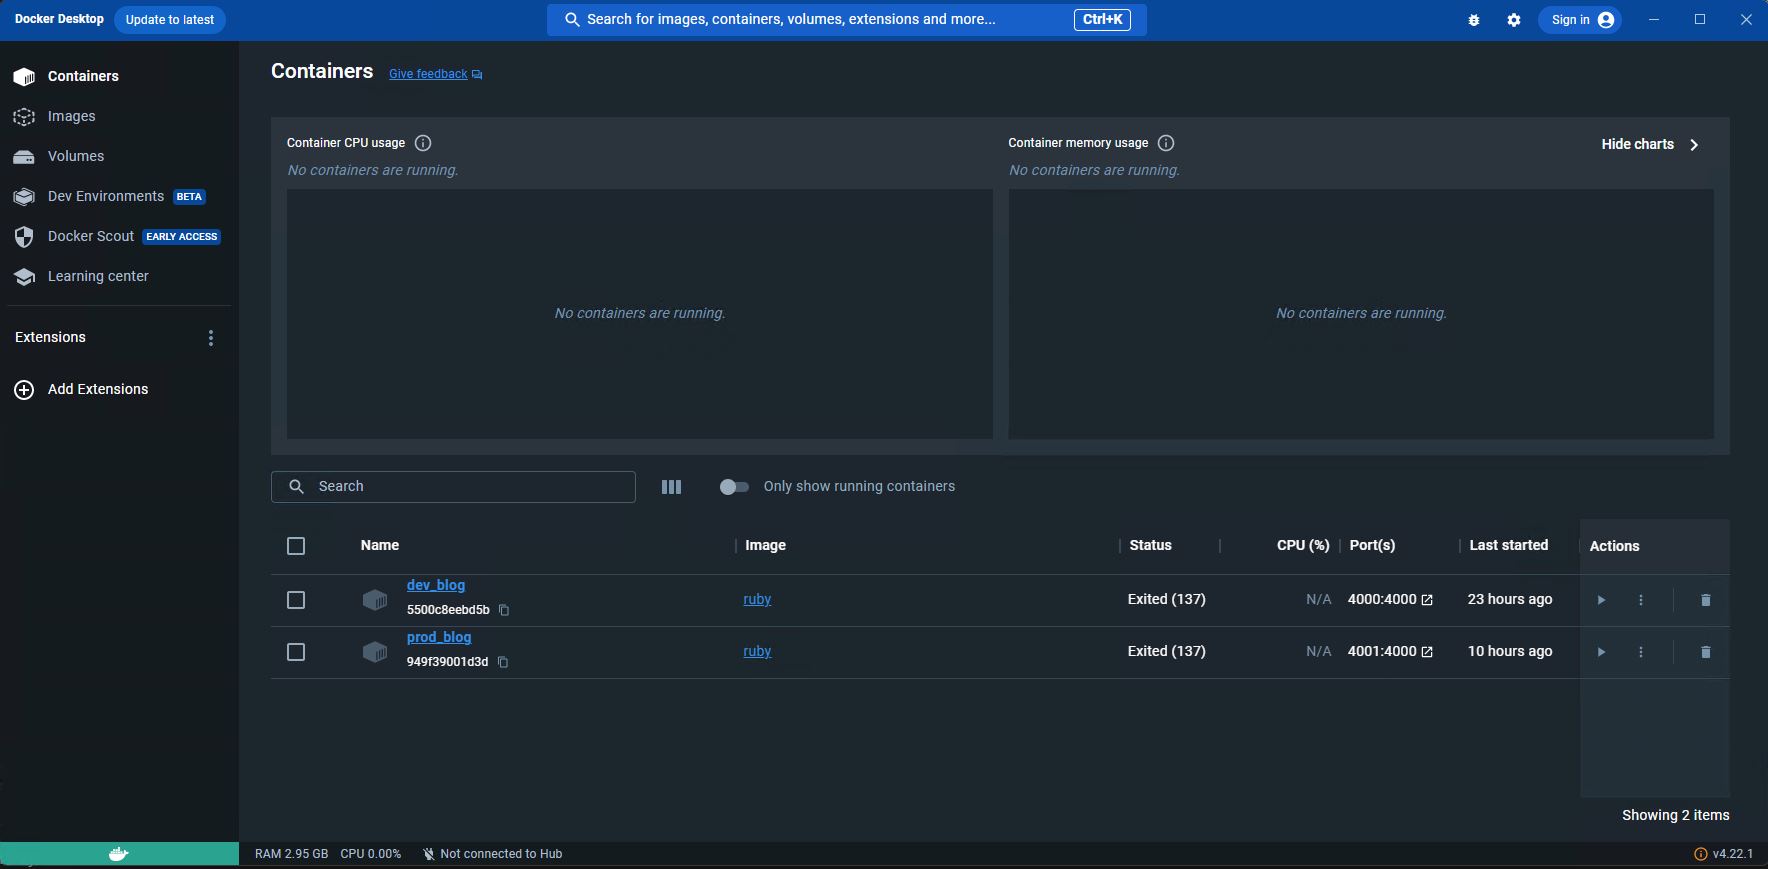
Multiple Containers
Theme Learnings
Some time consuming P-I-T-A components that I had to deal with:
- I had skimped on image sizing for a long time on my old blog theme, and nested the image within the post excerpt in markdown to help with rendering the size. This was nasty when moving to a new theme, and I had to fix it. This meant touching every post and making sure that I had an appropriate sized image. Painful. I highly suggest the awesome Unsplash site for free high definition images.
- There were some nasty issues with the default view in Hydejack refusing to “excerpt-compact” properly. This meant that every post was fully expanded on the landing page. I have absolutely no idea what in the world was causing it, I am convinced there was some rubbish in my posts historically as the example post templates played fine and I could port old content into new post template and life was good. Scrap that for manual rubbish. I simply used an “excerpt” tag as the opening piece of my posts which did the job.
- Trying to figure out how to use forms was fun initially, but following along with the integration of unstatic-forms with Hugo was spot on. Job done on the markdown pro theme (you can dump this straight into markdown).
Cutting over Github Pages
I branched my current site and simply replaced all my current configurations with my new staged site. Pushed to Github, and then changed my Github Pages publishing source to the new branch for testing.
Once happy, I merged to main, and changed my publishing again. I then opened a ticket with Github to remove the fork status from my original site.
There were some challenges with initial builds in github, this was likely due to the amount of hacking and cracking that had been done locally. The easiest way to fix, was using the github-pages-starter-kit that was provided with Hydejack. Starting from scratch, and then simply porting over images, pages, authors, _config.yml settings and cleaning up the appropriate default stuff was the easiest path to a win.
Reference sites
There are few really handy references who have done some cool stuff with Hydejack sites (both running Pro), a couple below worth checking out:
In particular, a shout out to Dan who fielded a few noob questions from a random on the other side of the world. Kudos.
Handy Tools
Some tools I have found very useful in my adventures:
- Visual Studio Code for post editing with markdown all in one extension and markdownlint extension
- Unstatic forms for handling the forms side of things if you want one
- Unsplash for images of decent quality
- Docker for running containers
- Ruby Container Image for jekyll
- Github Utterances for comments
Summary
This post was likely more satisfying my own need to retain the last two weeks worth of learnings and trials, but I also hope that it helps others should they tread down this path. I feel a lot less like I am sitting on a ticking timebomb with Ruby on Windows now out of the way.